It was impossible to find a guide that explains how to set up Dovecot for a multi-domain email server, so I made one to remind myself. In this article, we configure Dovecot to handle virtual mailboxes using OpenLDAP for authentication.
Why Virtual Mailboxes?
When hosting multiple domains (e.g., domain1.com, domain2.com, domain3.com), you want mailbox users like alex@domain1.com and alex@domain2.com without creating system users for each one. That is where virtual mailboxes come in. Dovecot stores mail under /var/mail/vmail/... and maps user authentication to LDAP entries.
1. Create the Mail User and Directory
Dovecot needs to have access to a virtual mail directory, so we start by creating a user.
sudo useradd -r -u 150 -g mail -d /var/mail/vmail -m -s /sbin/nologin vmail
sudo chown -R vmail:mail /var/mail/vmail- UID
150should matchfirst_valid_uidin Dovecot (later on this page)
2. Directory Layout
We are using this layout:
/var/mail/vmail/
 domain1.com/
    alex/
 domain2.com/
    alex/
Dovecot will dynamically create folders for each domain and user.
3. Dovecot Multi-Domain Email Configuration
Install Dovecot,
sudo apt install dovecot-core dovecot-imapd dovecot-ldap dovecot-lmtpdEnable Required Protocols
In /etc/dovecot/dovecot.conf:
protocols = imap lmtpSet Up SSL
ssl = required
ssl_cert = </etc/letsencrypt/live/mail.domain1.com/fullchain.pem
ssl_key  = </etc/letsencrypt/live/mail.domain1.com/privkey.pem
4. Configure LDAP Authentication
Edit /etc/dovecot/dovecot-ldap.conf.ext:
hosts = 127.0.0.1
base = dc=mail
user_filter = (&(objectClass=inetOrgPerson)(mail=%u))
pass_filter = (&(objectClass=inetOrgPerson)(mail=%u))%uis the full email (e.g.,alex@domain1.com)
Then in /etc/dovecot/conf.d/10-auth.conf:
auth_mechanisms = plain login
!include auth-ldap.conf.ext
And /etc/dovecot/conf.d/auth-ldap.conf.ext:
auth_worker_max_count = 10
passdb {
  driver = ldap
  args = /etc/dovecot/dovecot-ldap.conf.ext
}
userdb {
  driver = ldap
  args = /etc/dovecot/dovecot-ldap.conf.ext
}
5. Mailbox Locations (Dovecot Multi-Domain Email)
In /etc/dovecot/conf.d/10-mail.conf:
mail_location = maildir:/var/mail/vmail/%d/%n
first_valid_uid = 150
last_valid_uid = 150
mail_uid = vmail
mail_gid = vmail
This ensures that Dovecot writes the emails to the disk using the uid=150 account we created earlier.
6. LMTP Listener (for Postfix)
LMTP (Local Mail Transfer Protocol) is the local delivery mechanism used by Postfix to hand off messages to Dovecot for multi-domain email inboxes. Its a simplified version of SMTP, tailored specifically for local message delivery.
We will configure Dovecot to open (1) a LMTP socket to receive incoming messages, and (2) an authentication socket that will authenticate our SMTP service.
In /etc/dovecot/conf.d/10-master.conf, add:
service lmtp {
  unix_listener /var/spool/postfix/private/dovecot-lmtp {
    mode = 0600
    user = postfix
    group = postfix
  }
}

service auth {
  unix_listener /var/spool/postfix/private/auth {
    mode = 0666
    user = postfix
    group = postfix
  }
}
7. Verify Dovecot User Mapping
Use doveadm to inspect a users resolved UID, GID, and mail location:
doveadm user user@domain1.com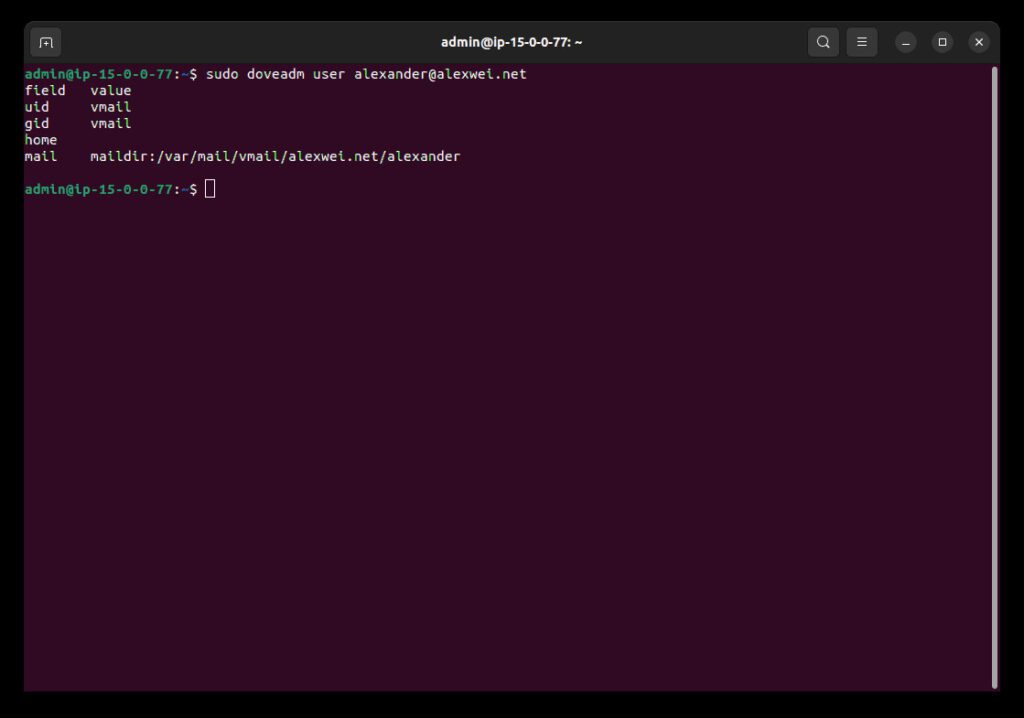
Expected output:
field       value
uid         vmail
gid         vmail
home        /var/mail/vmail/domain1.com/user
mail        maildir:/var/mail/vmail/domain1.com/user
10. Test with openssl
openssl s_client -connect mail.domain1.com:993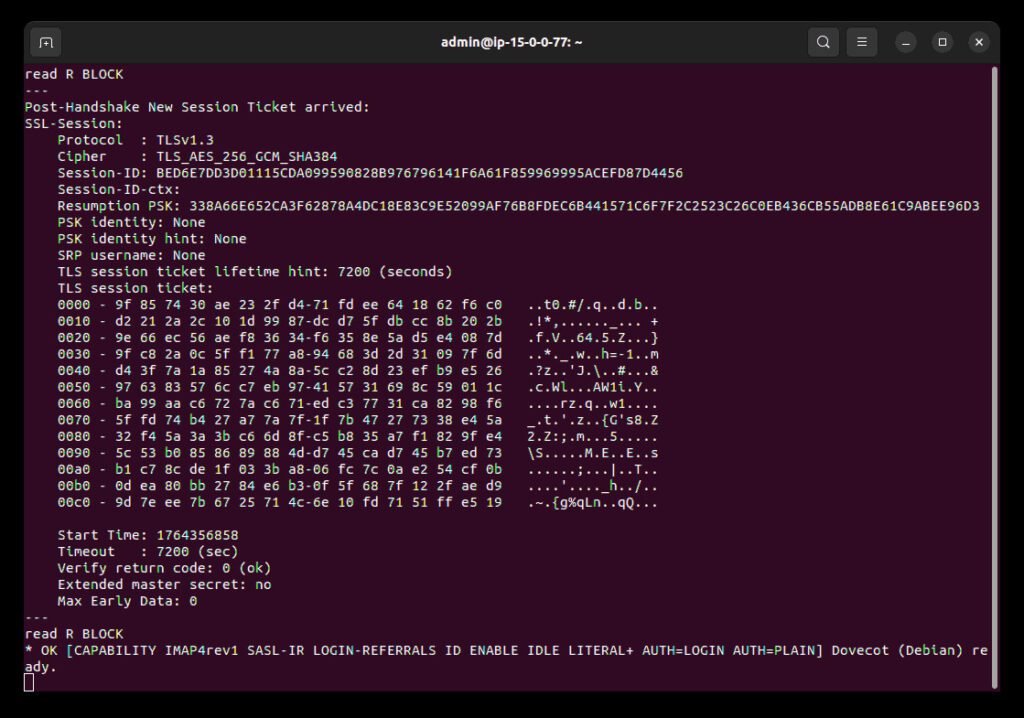
You should see a valid certificate chain and IMAP welcome message.
Dovecot now will:
- Authenticate users by full email address using LDAP
- Route their mail to
/var/mail/vmail/%d/%n - Work with Postfix via LMTP socket
- Present a valid TLS certificate to IMAP clients (iOS, Thunderbird, Roundcube)
This article is part of our Self-Hosted Multi-Domain Email Server guide. Stay tuned for more on DKIM, SPF, Roundcube webmail, and advanced anti-spam configs.
Need help? Let me know and I can help tailor your config. Make sure to share this article!